TL;DR
- read the official quick start guide
- instead of git submodule, use go modules to require your theme (state of the art)
- working themes for tryout are: stack, paperMod
Why Hugo
- open source
- fast static site generator
- ready to use support for taxonomies
- a variety of free themes exist
- simple & clear project structure
- easy to customize
- embedded webserver for easy development
Project setup

 https://github.com/m1rm/hugo-skeleton
- install hugo on your system
- use hugo new site hugoTest to get started
cdinto the newly created repo and rungit init- add your upstream repository (i.e. a repository at GitHub in the following steps)
- run
hugo mod init github.com/yourUser/yourUpstreamRepositoryto initialize your go module to keep track of dependencies such as your Hugo theme - create
hugoTest\config\_default\config.toml - create
hugoTest\config\_default\module.toml - create
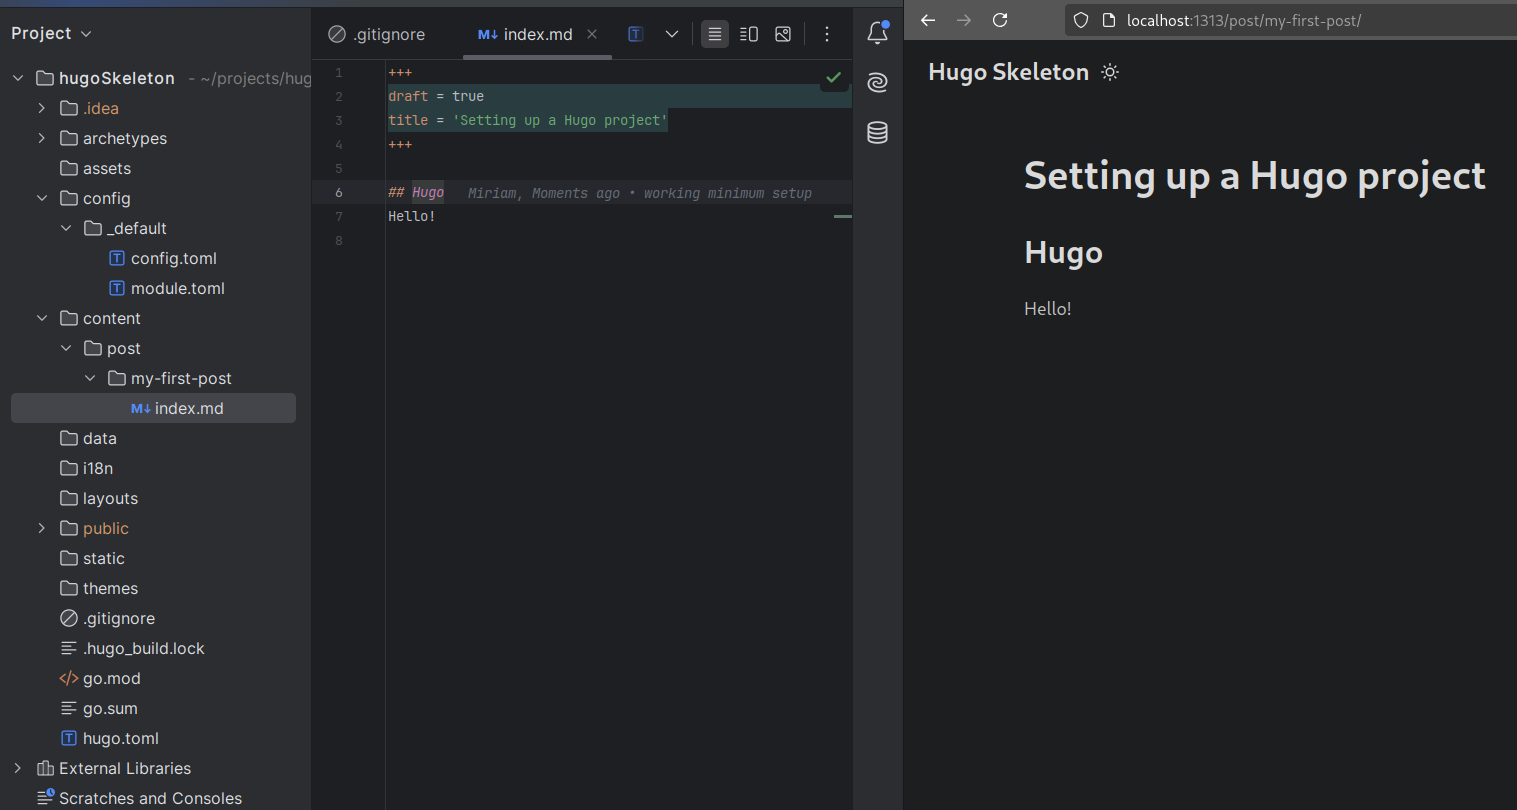
content/post/my-first-post/index.md
config.toml content
languageCode = 'en-us'
title = 'Hugo Skeleton'
[outputs]
    home = ["HTML"]
module.toml content
[[imports]]
path = "github.com/adityatelange/hugo-PaperMod"
my-first-post/index.md content
+++
draft = true
title = 'Setting up a Hugo project'
+++

# Hugo
Hello!
- run
hugo mod tidyand observe the changes in your go.mod file. You will see the theme dependency. - run
hugo server --buildDrafts --ignoreCache --noHTTPCache --cleanDestinationDirto start the embedded web server and navigate to localhost:1313 to see your first site in action.
Hugo places the generated sites in the public directory. The content of this directory is also the content
you want to sync to your server inside /var/www/html (if you have been following the previous article of this series) or
to your webserver root from where you want to host your blog.